Azure is a versatile cloud platform that offers a range of capabilities, with some of its features available at an affordable price point. One such feature is consumption-based serverless Azure Functions. With infrastructure-as-code, pipelines, or a simple click in Visual Studio, developers can quickly build and publish applications to the cloud within minutes.
While Python and Tensorflow offer powerful machine learning and artificial intelligence capabilities, in most cases, developers tend to use them independently. Often, AI developers must build their own servers, write their own APIs in Python, and manage other infrastructure-related tasks. Based on past experiences, this can be a pain point for many developers.
Wouldn’t it be great if we could marry the best of both worlds, allowing developers to focus on writing code, building models, and sending them to the cloud without having to worry about infrastructure management?
Today, I’d like to share with you how you can do just that.
Tensorflow model
First, Let’s create a sample Tensorflow model to do image classification, you can do it in Jupyter notebook or Google Colab
import tensorflow as tf
from tensorflow.keras.applications.resnet50 import ResNet50, preprocess_input, decode_predictions
from tensorflow.keras.preprocessing import image
import numpy as np

# Load the pre-trained ResNet50 model
model = ResNet50(weights='imagenet') # or your own model

# Load an example image and resize it to (224, 224)
img_path = 'path/to/example.jpg'
img = image.load_img(img_path, target_size=(224, 224))

# Preprocess the image for the ResNet50 model
x = image.img_to_array(img)
x = np.expand_dims(x, axis=0)
x = preprocess_input(x)

# Use the ResNet50 model to classify the image
preds = model.predict(x)

# Decode the predictions into a list of tuples (class, description, probability)
decoded_preds = decode_predictions(preds, top=3)[0]

# Print the predictions
for pred in decoded_preds:
    print(pred[1], pred[2])
Python Azure Function
We then wrap it into a Python Azure Function. You can use azure function CLI to create a new azure function project (i.e. folder) on your machine.
I use Anaconda to manage my virutal environments, but using Pip Venv is just fine. Install azure functions package into your environment
pip install azure-functionsThen run this code to create an azure function project
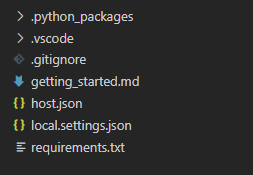
func init [folder name] --pythonThis should create a folder with basic files of an Azure Function project. This will be the “solution” folder if we compare to a good old .NET solution. Next, cd into the folder.
Now, let’s create our first function, or in our particular case, an API endpoint.
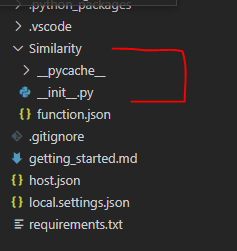
func new --name [your function name] --template "HTTP trigger" --authlevel "function"Note here, I use function level authentication here, but you can change it to others if needed. This command will create a sub folder under your solution folder with the function name you specified. Like the following screenshot
If you open the function.json file, you will see the configuration of your created function. If you only care about one thing in this file, it’s the methods array, by default, it allows get and post method. Add or delete the methods you want to allow in your function. In our example, I am only going to allow POST method, so I will delete the “GET ” method.
Inside the __init__.py file is where you write your API method. We cannot just copy and past the previous AI code into it as we need to wrap it into an API method. Here is how you do it
import json
import requests
from io import BytesIO
import tensorflow as tf
from tensorflow.keras.applications.resnet50 import ResNet50, preprocess_input, decode_predictions
from tensorflow.keras.preprocessing import image
from azure.functions import (
    HttpRequest,
    HttpResponse,
)

def main(req: HttpRequest) -> HttpResponse:
    try:
        # Parse input JSON
        req_body = req.get_json()
        image_url = req_body.get('image_url')

        # Download image from URL
        response = requests.get(image_url)
        img = image.load_img(BytesIO(response.content), target_size=(224, 224))
        x = image.img_to_array(img)
        x = preprocess_input(x)

        # Load ResNet50 model
        model = ResNet50(weights='imagenet')

        # Make predictions
        preds = model.predict(np.array([x]))
        preds = decode_predictions(preds, top=5)[0]

        # Format output JSON
        results = [{'class': p[1], 'probability': float(p[2])} for p in preds]
        output = {'results': results}
        return HttpResponse(json.dumps(output))

    except Exception as e:
        error = {'error': str(e)}
        return HttpResponse(json.dumps(error), status_code=500)
This method basically look at the body of http request, gets the image url from json object, downloads the image you want to classify, run inference and return results in json.
Local testing
Now let’s test it locally, run the following code to start a local azure function
func startIf the function starts without error, you will see something like below in the console.

The green text gives you a localhost url towards your api end point. You can use postman or any of your preferred API test software to send a post request with the following body
{
    "image_url": "url to your image",
}
If everything goes well, you should get a 200 response with the result in json format. Once you see a success result, we are ready to publish it onto the cloud. But make sure you checkout the requirements.txt file and put in all your required python packages and libraries. In our case, Tensorflow packages!
azure-functions
numpy
Pillow
tensorboard==2.9.1
tensorboard-data-server==0.6.1
tensorboard-plugin-wit==1.8.1
tensorflow==2.9.1
tensorflow-addons==0.17.1
tensorflow-datasets==4.6.0
tensorflow-estimator==2.9.0
tensorflow-hub==0.12.0
tensorflow-io==0.26.0
tensorflow-io-gcs-filesystem==0.26.0
tensorflow-metadata==1.9.0
tensorflow-model-optimization==0.7.2
tensorflow-text==2.9.0
scipy==1.5.4
scikit-image==0.19.3
scikit-learn==0.24.2
keras==2.9.0
Azure account and assets
Before creating our Azure assets, get a free Azure account if you haven’t. https://azure.microsoft.com/en-us/
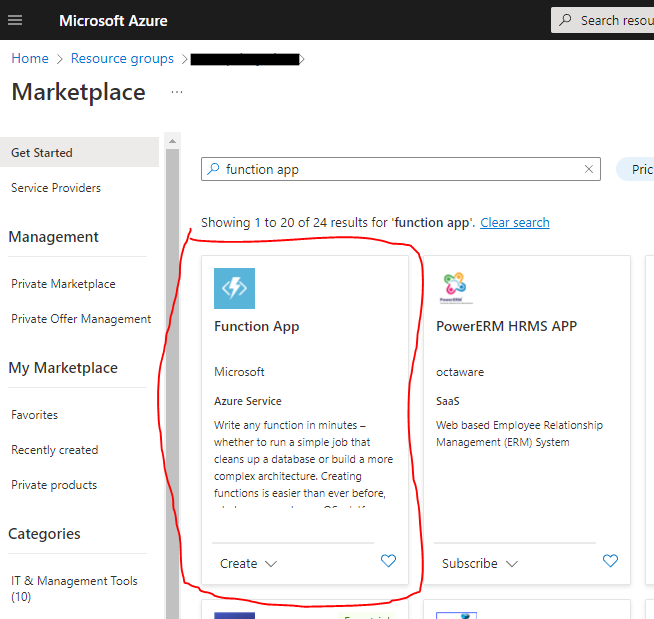
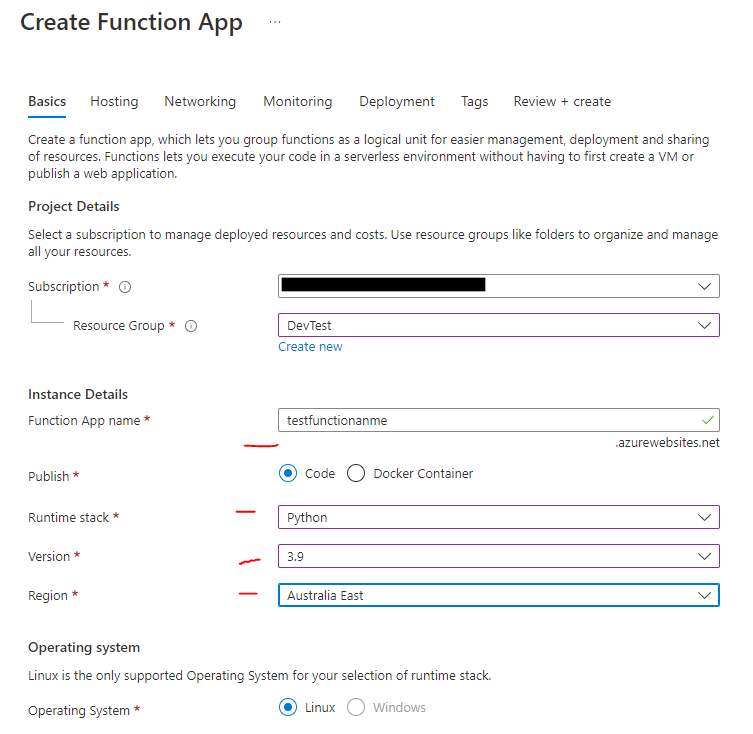
Follow these screenshots to create a python/linux Azure Function
The function app will take a while to create. Meanwhile, we are back to CLI commands, which is not my faverioute part. You need to install Azure CLI before you can continue. Please refer to this link for the details: https://learn.microsoft.com/en-us/cli/azure/install-azure-cli
Once everything is installed, open you Anaconda command line, navigate to your Azure Function folder. You want to login to your azure account and set to the correct subscriptions first.
If you have trouble finding your tenant id and subscription id, open you azure account/subscription page, and see the following:
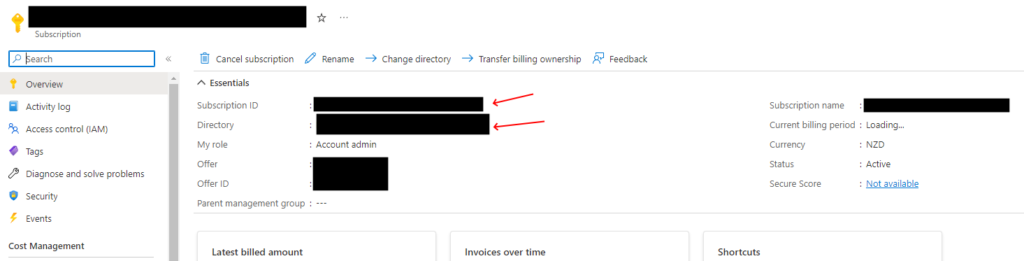
Directory is your onMicrosoft account, and the subscription ID is a guid you need to use. Once you got these two pieces of information, run the following command:
Publish your Function
az login --tenant [your azure tenant name].onmicrosoft.com
az account set --subscription "[subscription ID]"
The login command will launch a browser asking you to loign with your azure credential, once that’s done, you can close the browser and run the second command. This will set your target subscription for the next operations. You then run the next command
func azure functionapp publish [Your function name]Note: the function name is the the name you put in when creating Azure function, in our case, it’s “testfounctionname” in the screenshot. The deployment will take quite some time, mainly because it will be installing the packages you specified in the requirements.txt file. If you end up seeing a green “Remote build succeed!” message. Congradulations, you have just published your own Tensorflow Azure Function API!
Final Notes
If you encouter errors while testing/using your azure function, checkout the default application insights to see the error message. Oh I didn’t seem to mention how to create one when we create the Azure assets? It was done and linked for you when you create the Function, how easy is that.
To make things even easier, you could use Azure DevOps to streamline your deployment, so that you can deploy a new version with just a submitting a PR of your code into the source control. I will write an article on how to do it in the future.
